This has to be one of my favourite breads, both to make and eat…the shaping of the dough is so fun, and you don’t even have to go to the trouble of cutting your bread up…the different segments can be just torn off your loaf very easily; and as you do so you are given full opportunity to savour the yummy cheesey gooiness encased within the loaf… ;)
Ingredients
- 450 g strong white bread flour
- 7 g sachet dried yeast; or 1 ½ tsp instant yeast
- 1 tsp sugar
- 1 ½ tsp salt
- 300 ml tepid water
- 60 g mature cheddar, grated
- Bunch of fresh chives, chopped
- A little milk to glaze
Method
- Sift the flour and salt into a large bowl and stir in the yeast and sugar.
- Make a well in the centre of the dry ingredients and pour in most of the warm water. With your hands, bring the mixture together until it forms a soft dough – soft, not dry or sticky. Add more water if it feels too dry or a little more flour if it is sticking to your hands too much.
- Sprinkle a little flour over a clean work surface. Transfer the dough from the bowl onot the work surface and knead for about 10 minutes until smooth to the touch and it becomes elastic and malleable.
- Oil a clean bowl. Shape the dough into a bowl and plae in the bowl, turning once so the top is coated in oil. Cover with greased cling film and place in a warm, draught-free place until it has doubled in size and feels springy if lightly pressed with a fingertip. Depending on how warm the day is and the temperature of your house, the length of time required for this rising varies – I usually give mine a good two hours at the least.
- Take off the cling film and give your dough a good punch with your fist to deflate the air. Turn it out onto a very lightly floured work surface. Grease a 900 g loaf tin well.
- Knead the dough for a minute or so and then divide into about fourteen equal-sized pieces. Roll them with a cupped hand on the work surface to form smooth balls. Flatten each ball with your hand or a rolling pin to form fourteen discs.
- Mix together the chives and the grated cheese. Sprinkle a little of the mixture onto each disc.
- Stack the discs on top of one another and then quickly transfer to the prepared loaf tin. Cover with greased cling film once more and leave to rise in a warm place again, until well-risen: about 1 hour to 2 hours. Preheat the oven to 210c/fan oven 190c.
- Very gently brush a little milk over the top of the risen loaf. Place in the oven and bake for about 25 – 30 minutes until golden, cooked and well-risen. Test to see if the loaf is cooked by tapping it on the base – it should sound hollow. Remove from the tin and place on a wire rack to cool slightly. If you like a nice soft crust, wrap in a clean tea towel after removing from the oven.
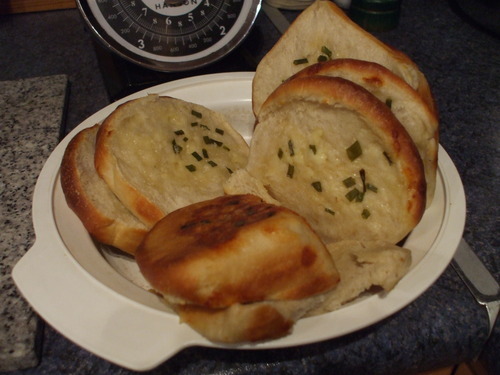
- Serve warm so that the cheese is still deliciously molten. It’s gorgeous as an accompaniment to pasta dishes such as lasagne…but equally delicious eaten on its own ;) When you serve the bread tear the different segments apart and stack in a bowl.
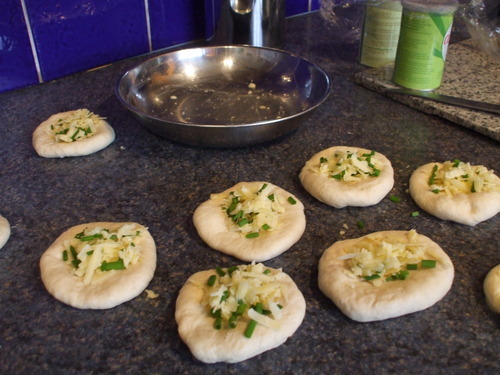
Here are the little cheesey discs, all ready to be stacked into a loaf...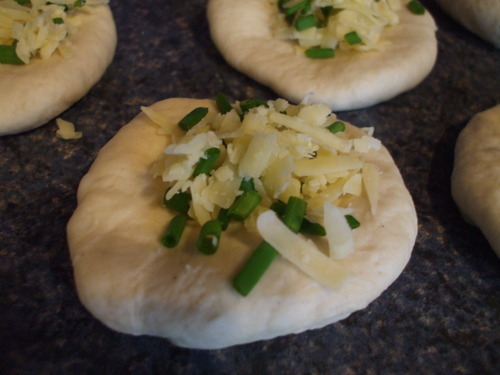 Hmm. this little disc could do with a bit more cheese i suppose... ;)
Hmm. this little disc could do with a bit more cheese i suppose... ;)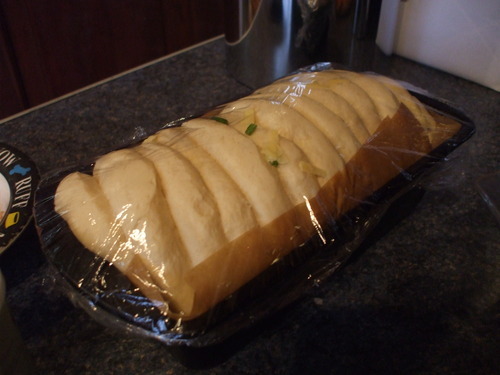 Now it's risen and ready to be baked...
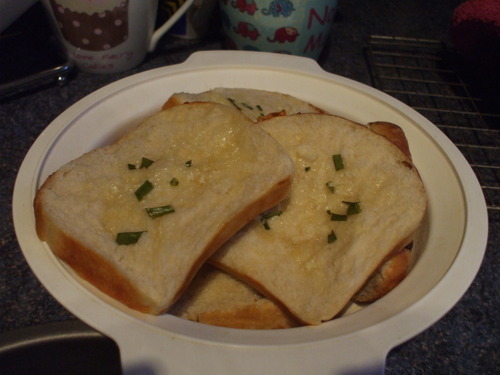
 I wonder how many pieces will be left by the time dinner's over. ;)
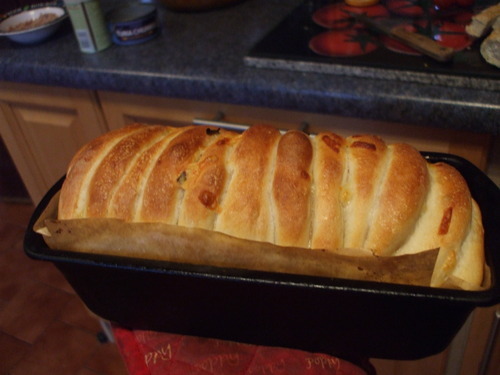
Cheese and bread...its most definitely one of those matches made in foodie heaven. <3
No comments:
Post a Comment